Create a Distribution List (Group Email)
To perform this task you will need to be logged in your EhloMail administration dashboard.
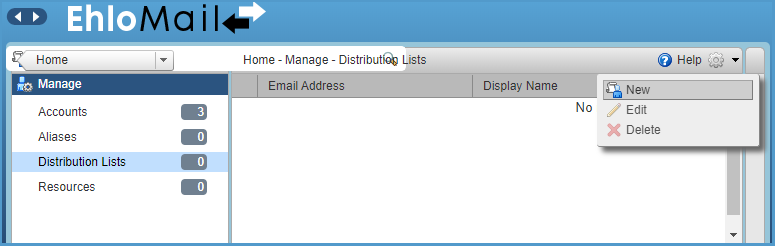
- Go to Manage > Distribution lists > click the Gear Icon in the top right corner and select New.
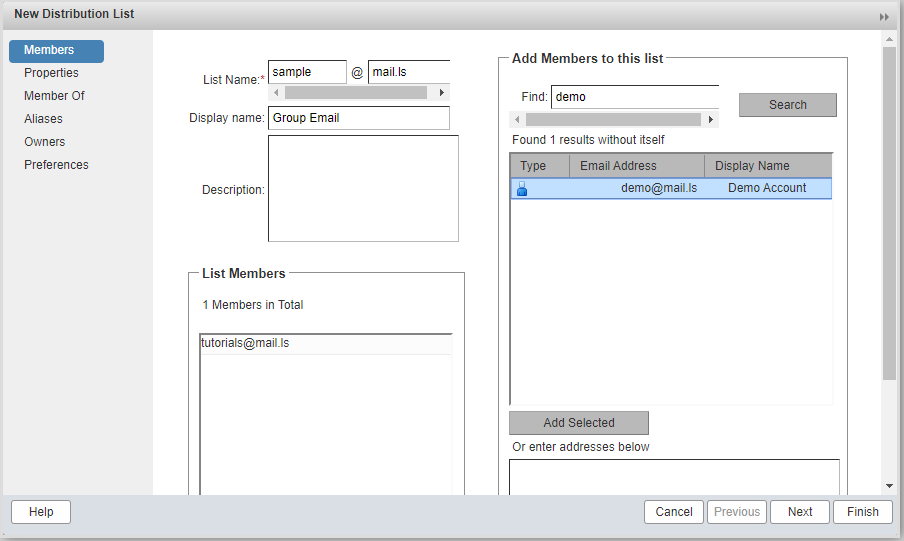
- Enter a Distribution List name the text box next to the domain name. This will be the email address of your distribution list.
- For example, if using “sample” as your distribution list name, along with the domain name of “@mail.ls”, your complete distribution list name/address is “sample@mail.ls”. The name must be available. If it is not available, you will receive an error notice and must try another name.
- Enter a Display Name for the distribution list. If you want a name other than the email address of the distribution list, enter a display name and this is used throughout EMWC as the general name of the list.
- Enter the Description for the distribution list.
- Select new group members to add to your list. You can select new group members from the following options:
- Type a name into the Find text box and select the address book from the in: drop down menu to search. Click Search. Names that match your entry are listed in the address list box. Select the names from the list that you want to add to the group and click Add or Add All.
- Select an address book you want to search in the in: drop-down menu. Select the names from the list that you want to add to the group and click Add or Add All.
- Type the email address in the Or enter addresses below text box. Separate addresses with either a comma (,) or semicolon (;), or pressing Return. Click Add. Email addresses you type are not verified. The selected names are added to the Members list. You can add additional accounts. Use the Shift or Control key to select more than one name at a time from the list.
- Type a name into the Find text box and select the address book from the in: drop down menu to search. Click Search. Names that match your entry are listed in the address list box. Select the names from the list that you want to add to the group and click Add or Add All.
- Click Next. The accounts are added to the distribution list and the account’s distribution lists are updated to show the distribution list name.
- You are now in the Distribution List Properties tab.
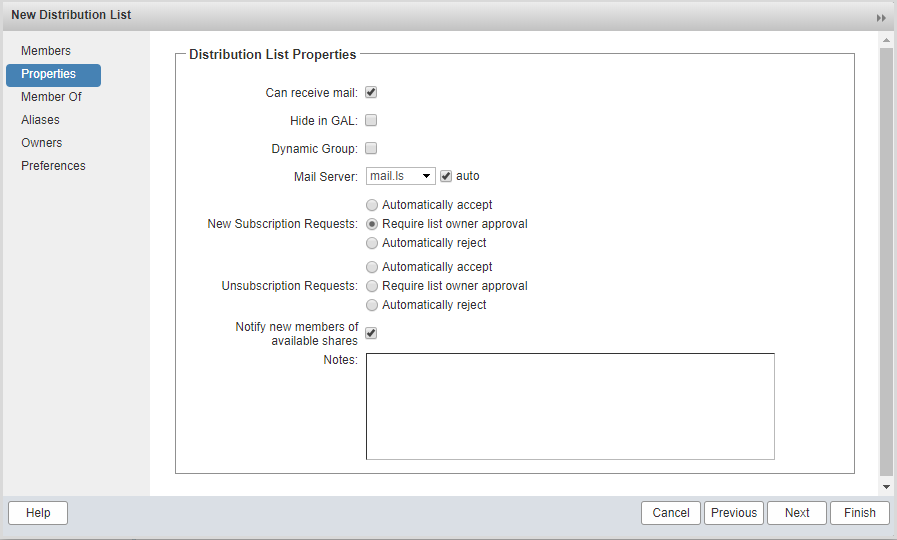
- If the distribution list is Private, and you want the list hidden from the Global Address List (GAL), tick "Hide in GAL"
- Select the type of New Subscriptions Requests you want to allow to this distribution list.
- Automatically accept
- Require list owner approval
- Automatically reject
- Set the rules for Unsubscription Requests for this distribution list.
- Automatically accept
- Require list owner approval
- Automatically reject
- Choose if you want to make this distribution list a member of another existing list
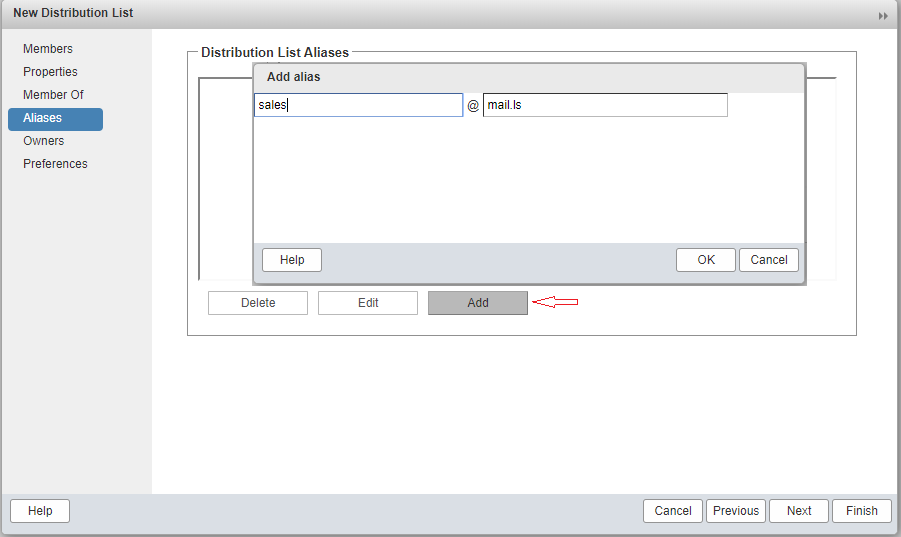
- In the next step you can create an alias for this list.
- Assign distribution list owners (optional)
- Define preferences for receiving mail - if you wish to set a Name and message to show in the reply-to header.
- Click Finish to save.